CIST2531 Advanced Photoshop Final Project
Eve Taylor
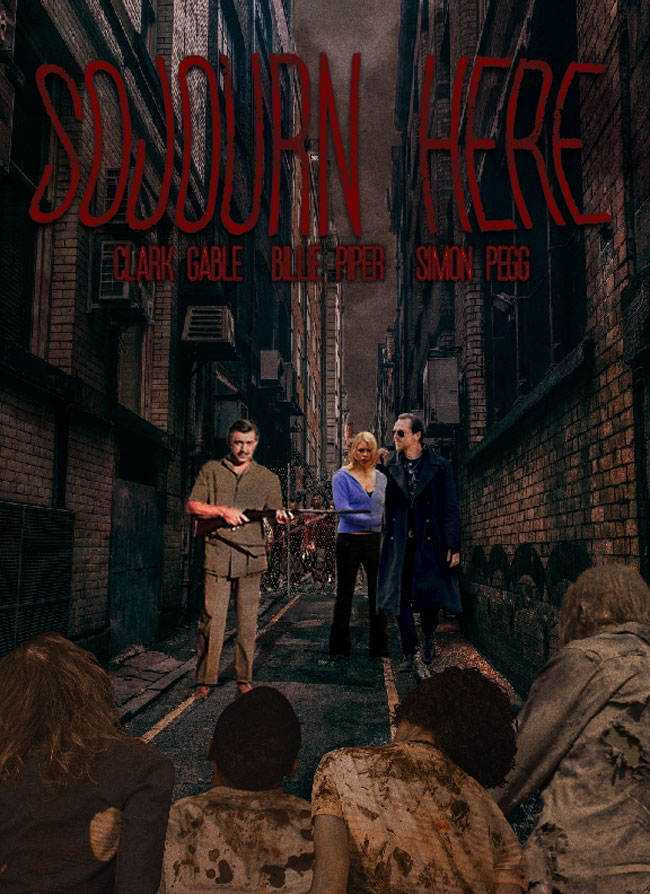 Movie Poster for Sojourn Here |
Unedited Images
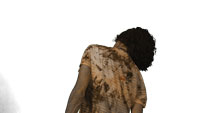
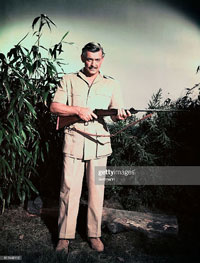 Clark Gable Used lasso and quick selection to remove bg, soft round paint brush in multiple colors to fix the watermark on the leg, duplicated the person then used transofrm- distort to the shape their shadow would be. Once in place in the layer blending mode I choose Subtract and set opacity to 50%, Adding a clipping layer to clark gable I edited levels to better blend in with the setting. Since Clark Gable had more harsh lighting I used the burn tool to soften the spots of lighting on him, Used paint brush to fix harsh shadows on clarks face and clothes. Selected Clark Gables outfit and used Match color to change the begie color to more of a brown with the source being the brown from the allayway. Then doing the same with his hair so it wasnt a harsh black with bright shadows. Used forward warp tool to fix the very pinched in waist of Clark Gable to have more of square/natural waistline. |
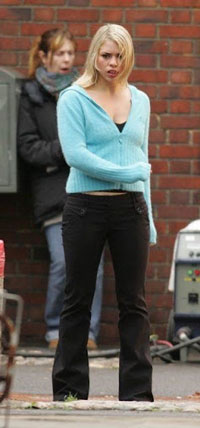 Billie Piper Used quick select- subject- inverse to remove bg, Use lasso on billie piper to select the area that simons arm covers, masks so that now it looks like simons arm is behind billie duplicated the person then used transofrm- distort to the shape their shadow would be. Once in place in the layer blending mode I choose Subtract and set opacity to 50%, Edited exposure and used burn tool, Billies jacket was too bright so used the lasso tool to select the jacket and do the hue/satutation adjustment to make it a darker more rich blue. Desaurate using sponge tool in some spots. |
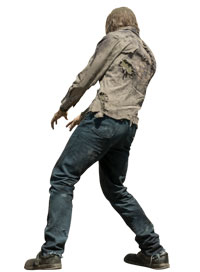
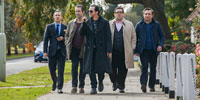 Simon Pegg Used quick select- subject- inverse to remove bg, Edited exposure, brightness, contrast and used burn tool. Saurate using sponge tool on face. |
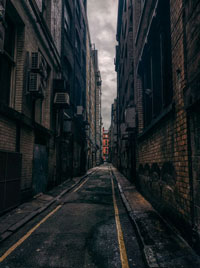 Allayway Selected sky and edited the selection to be darker and have more contrast for a more stormy sky, then added Noise. |
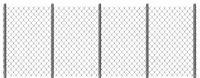 chain-link fence Placed chain link fence in a way that it interact with the environment then adjusted Brightness to -60 and Contrast to +30. |
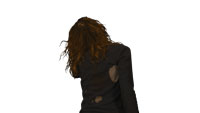 Lady Zombie Adjusted overall Brightness to +45 and Contrast to +36. The red hair was too much of a focal point so selected the hair and edited the selection by make the Hue 32, Saturation 29, and colorized. |
 Zombie Looking Up Adjusted overall Brightness to +38 and Contrast to +33. |
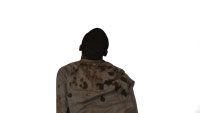
 Male Zombie Adjusted overall Brightness to -45 and Contrast to -5. |
 Standing Zombie Adjusted overall Brightness to -96 and Contrast to +48. |
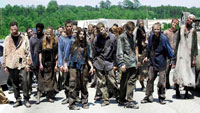 Front Facing Zombie Removed bg, Adjusted brightness to -76 and Contrast to +57. used the lasso tool to select all the blue in the front facing zombies and used hue edit to make the shirt go from blue to red and to make it look like mud and blood I applyed a linear gradinet that goes from red to brown. |
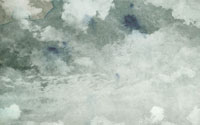 Overlay Placed image over the whole poster and used Overlay blending mode. Adjusted its brightness to -72, contrast to -16, and color balance of red to +50. Lastly added Smart Filter- Film grain with Grain set to 3. |
Each Chapter
|
1 & 2- layers
3- multiple images 4- selections: Used lasso and quick selection to remove bg of Clark Gable, Billie Piper, Simon Pegg and Zombie. 5- color effects: Selected Clark Gable outfit and used Match color to change the beige color to more of a brown with the source being the brown from the allayway. 6-type: Title and actor name text in font downloaded from free fonts website. 7-paint tools: Used a soft round paint brush in multiple colors to fix the watermark on the leg of Clark Gable since the spot healing brush tool made it too pixelated. 8-layer functions: To make shadows I used layer blending mode and choose Subtract and set opacity to 50% 9- special effects filter: Added Noise Allayway layer and the film grain filter on the overlay layer. 10-selection edit: Quick selected the sky and then applied exposure adjustment -2.72 11-color adjustment: The red hair of the female zombie was to distracting from the focal point so I selected the hair and then changed the hue/saturation to 32,29,0 and colorized. 12-clipping mask, path, shapes: To apply adjustments to specfifc objects I had to use the clipping mask so the adjustment solely affects that object and not the whole image. For example the chain link fence has contrast +30 and Brightness -60. 13-transforming type: On title I used warp text box and selected squeeze style with bend at +36. 14-liquify: Used forward warp tool to fix the very pinched in waist of Clark Gable to have more of square/natural waistline. |